


In this blog, we'll tell you how to really thoroughly clean and protect your convertible top against weather and wind, using the right fabric cleaner, brushes, and impregnating agent—and without any stress about stains on your paintwork. Taking off rings and watches is mandatory!
Step by step to a water-repellent result
Driving with the top down is the ultimate feeling of freedom, but that fabric soft top takes quite a beating. Bird droppings, UV radiation, dirt and, in the worst case, green algae growth can quickly make your convertible top look dull and neglected. Fortunately, you can restore your convertible top to new condition right at home and seal it against the elements.
In this guide, we take you step by step through the process: from carefully dry brushing loose dust to applying a high-quality protector 'wet-on-wet'. You will also learn why it's better to keep that high-pressure washer at a safe distance and how to prevent the protective coating from leaving ugly stains on your paintwork. Prefer to watch a video? Click below!
Preparation: Gathering supplies & protecting paintwork
Before you enthusiastically pull the trigger on the sprayer, proper preparation is key. After all, you are working with specific cleaners and powerful impregnating agents that you want to keep on the fabric and off your car windows or shiny paintwork.
What do you need?
- Q²M FabricCleaner: A high-quality interior or textile cleaner (ready-to-use, or a powerful all-purpose cleaner for heavy contamination).
- Spazzola Doppio: A soft horsehair brush and a firmer nylon brush for the heavy-duty work.
- Q² FabricCoat: A high-quality impregnating spray.
- Per Tutti All Purpose Towel: Preferably choose a light color, so you can immediately see how much dirt is coming off.
- Tarpaulin or old sheet & tape: To protect the surrounding paintwork and windows.
- Bucket with water: For dampening and rinsing in between steps.
- Gloves: For your own protection and for rubbing the product in manually.
Detailing Tip: Ready to get started? Take off your rings, bracelets, and belt! Nothing is worse than getting a deep scratch in your paintwork just because you leaned over the car a bit too enthusiastically while brushing.

Step 1 – Dry removal of loose dirt and dust
Normally you would start a detailing job with a complete wash, but with a convertible top we take a different approach. Is the rest of the car reasonably clean? Then we focus directly on the soft top. Never start directly with liquid on a dusty roof. Grab a firm nylon brush (or a softer horsehair brush) and thoroughly brush the dry top clean. This removes all loose dust, sand, and surface contamination from the fibers.
Optional: Do you have a vacuum cleaner at hand? Move the vacuum's brush attachment over the top while brushing to instantly suck up the loosening dust.

Step 2 – Deep cleaning with Fabric Cleaner
Now that the loose dirt is gone, we're going for a deep clean. For this, we use the Q²M FabricCleaner upholstery cleaner by GYEON.
- Keep the paintwork cool and work in the shade: This is crucial. If the paintwork is too hot or in direct sunlight, the cleaner can bake in the moment it accidentally touches the paint.
- Wet the surrounding paintwork: Spray some water onto the surrounding paint if necessary. If any cleaner splashes onto it, it will mix with the water and won't bake into the surface.
- Mist and brush: Spray the fabric cleaner evenly over a section of the top. Lightly dampen your microfiber towel (preferably a light color) in your bucket of water.
- Agitate: Use the brush to thoroughly massage the cleaner into the fibers. You will see the product start to foam slightly and the towel will immediately pick up the dark contamination.
Detailing Tip: Is your roof extremely dirty or completely green with algae? If so, a mild, ready-to-use product often won't cut it. In that case, reach for a more powerful all-purpose cleaner (such as a strong APC) and repeat the steps until the top is completely clean.

Step 3 – Rinse, rinse, and rinse again
This might be the most important step for a perfect result. All the dirt and soap residue must be completely removed from the top. If soap is left behind in the fibers, the impregnating agent will not be able to bond properly, resulting in poor durability.
- The garden hose method: Preferably use a regular garden hose to thoroughly rinse the roof.
- Pressure washer? Watch out! You can use a pressure washer, but make sure to keep a substantial distance. If you get too close, you will spray and damage the fibers of the top beyond repair.
- Repeat: Rinse the roof, wipe it down with a clean towel, and repeat this process until absolutely no foam or dirt comes out of the top. Don't be surprised if you have to repeat this about six times!
When the final round is done, wipe the top down one last time with a clean, dry microfiber towel to absorb most of the moisture.

Step 4 – Letting the top dry 100%
Before the protective layer can be applied, the top must be completely dry. Even a small amount of residual moisture in the fibers will cause the protector to be repelled. After cleaning, leave the car outside in the sun or park it inside a dry room. Only when the top feels 100% dry can you proceed to the final step.

Step 5 – Masking and protecting
The fabric protector performs fantastically on textiles, but on paintwork and glass it can cause stains that are difficult to remove afterward. Prevention is better than cure!
- Masking: Carefully mask the edges along the top with masking tape. Use a tarpaulin, an old sheet, or a piece of plastic to cover the entire paintwork and the windows. This prevents the fine 'mist' from drifting onto the paint while spraying.
- Ventilation: Make sure you work in a well-ventilated area, as the product has a quite strong presence.
- Application: Shake the bottle well before use. Apply a very thin mist layer over the convertible top. It is much better to apply two thin layers than one very thick layer all at once.
- Rubbing in: Put on gloves or use a clean, soft horsehair brush to rub the mist directly into the fibers. This ensures optimal distribution of the product into the fabric.
Detailing Tip (Wet-on-wet application): Apply the second layer while the first layer is still slightly damp. If the first layer has already dried completely, it will repel the second layer and the product won't be able to bond properly anymore.

Step 6 – Curing and the finishing touches
Have you applied two nice layers? Then you can carefully remove the tarpaulin and the masking tape.
- Cleaning windows: If some spray did manage to get onto the windows despite the masking, clean it off immediately with a good glass cleaner or with GYEON Q²M Prep, for example.
- Usage: Don't be discouraged by the price of a high-quality protector; its performance truly reflects its cost. For an average convertible top, you will use less than half a bottle per treatment (regardless of whether you have a 120ml or 400ml variant), so it will last you a pleasantly long time!
The golden 12-hour rule
Now comes the hardest part: having patience. To let the protector perform at its best and achieve that famous, envy-inducing 'beading' (water droplets rolling straight off the roof), the product needs to cure completely.
- Let the top dry in a dry environment for at least 12 hours.
- Avoid any contact with water for the first 24 hours to ensure complete curing.

The result: Enjoying a fresh top
Once the curing time has passed, your convertible top is not only visually deep in color and fresh again, but also fully protected against the elements. Rainwater, dirt, and UV radiation don't stand a chance for the time being. The water rolls off in beautiful droplets, exactly the way we want to see it, and that obviously makes us super happy!
Do you have a convertible sitting in your driveway that could use some love? With the right gear, a healthy dose of patience, and this guide, nothing can go wrong. Good luck!

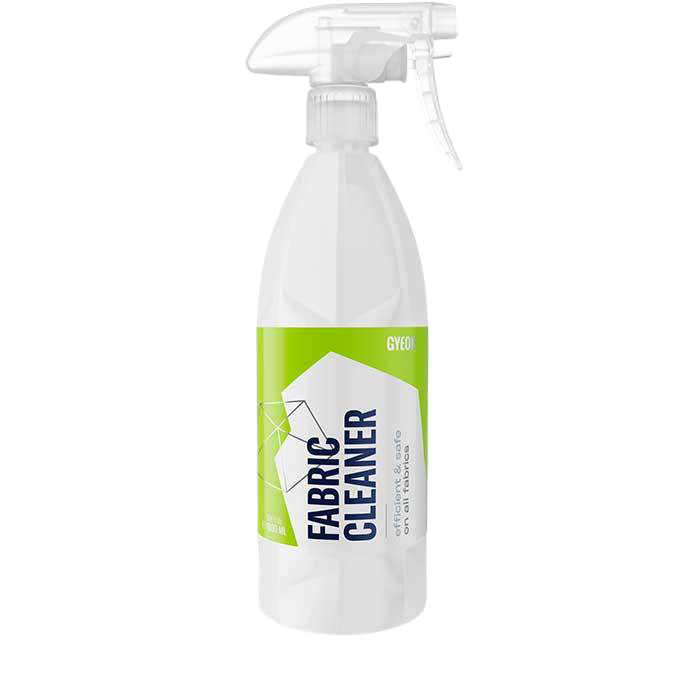

- Krachtige oplossing om stoffen bekleding te reinigen
- Geschikt voor alle stoffen
- Maakt het interieur fris, schoon en klaar voor bescherming
- Eenvoudig te gebruiken
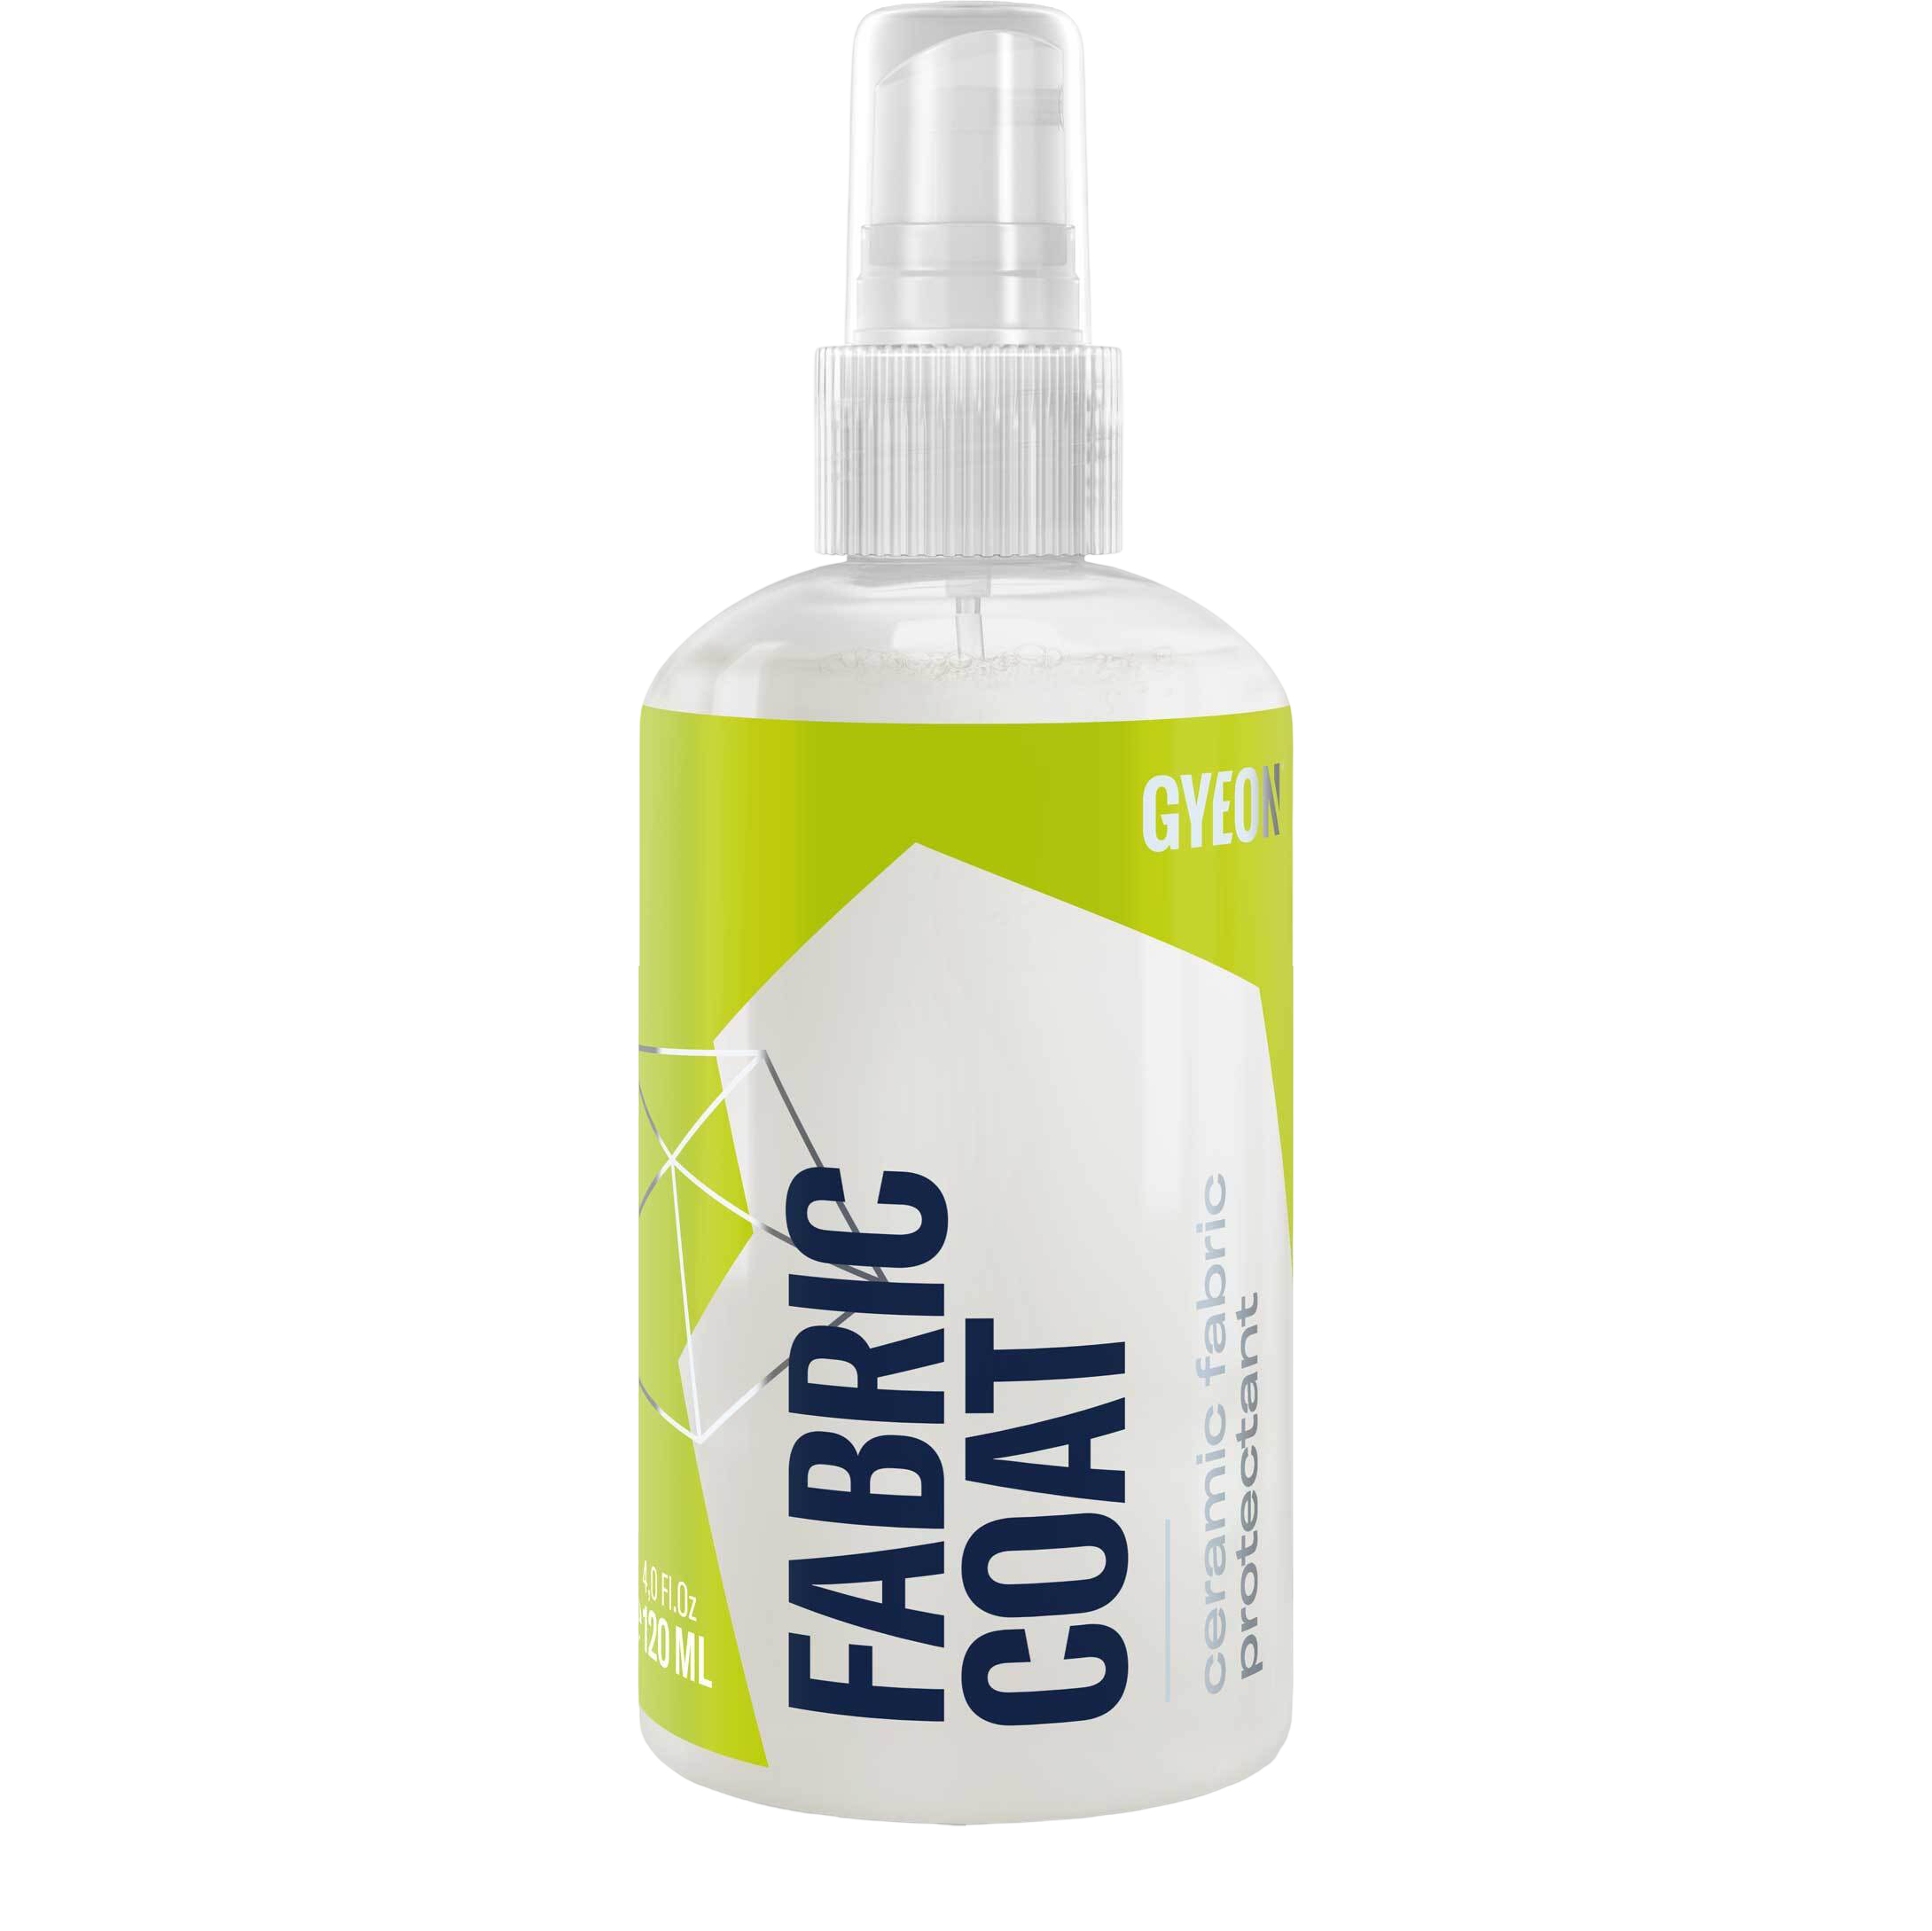

- Durable Water-Repellent Coating for Textiles
- Long-Lasting Barrier Against Water and Dirt
- Perfect for Convertible Softtops
- Consumption: Approximately 80ml per m²
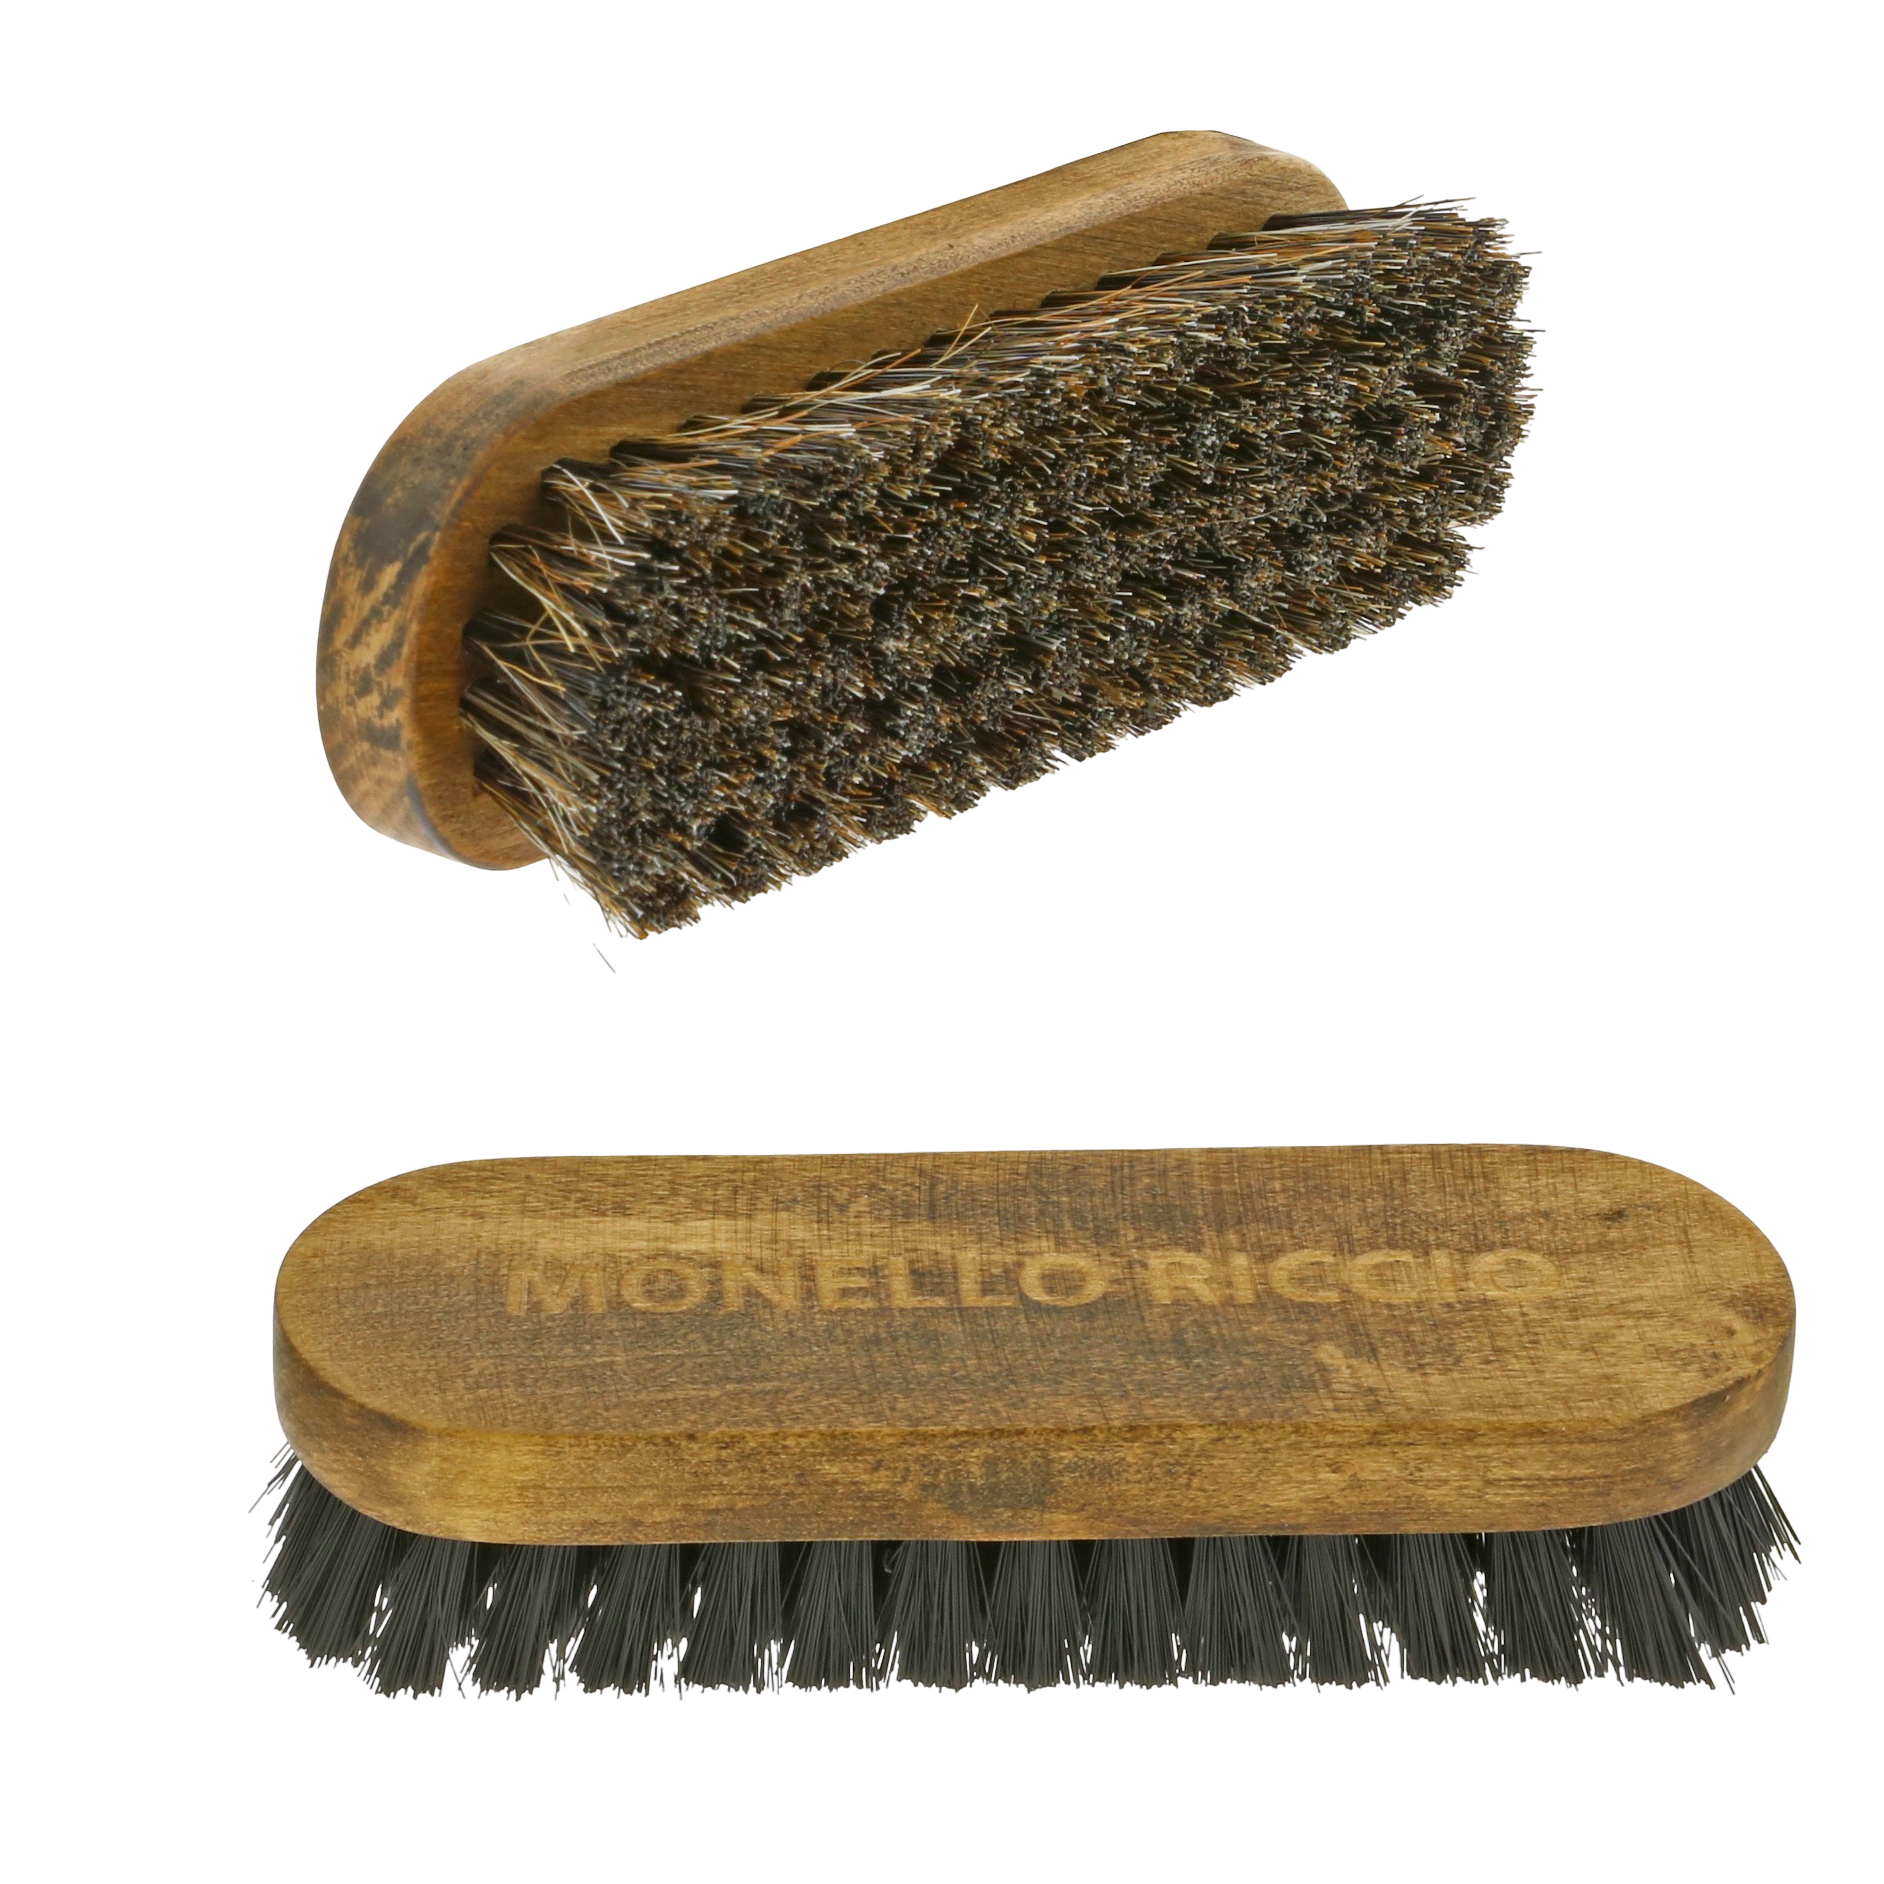

- Handige borstels voor interieur, leer en cabriodaken.
- Twee borstels: paardenhaar en nylon.
- Luxe houten handgrepen met ingegraveerd logo.
- Geleverd in mooi doosje.
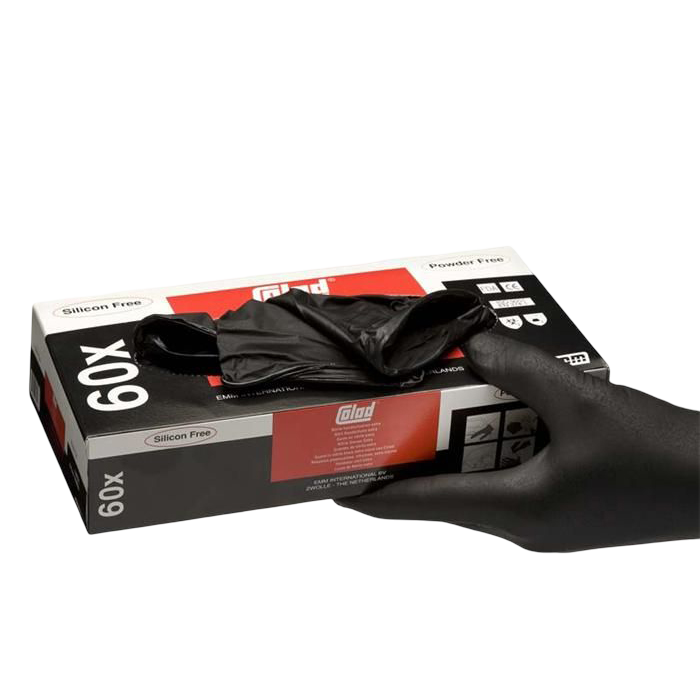
- Extra dik, van zeer hoge kwaliteit
- Oplosmiddel bestendig
- Geruwde vingertoppen voor betere grip
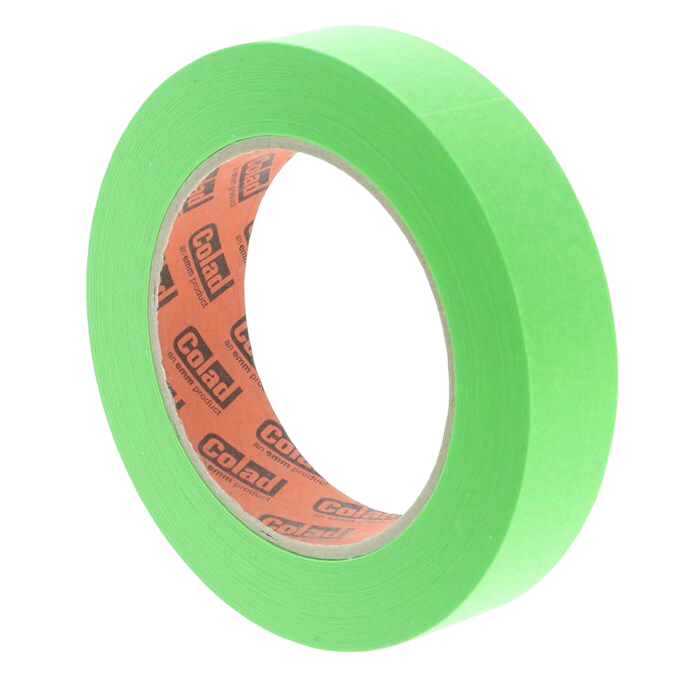
- Perfect voor het afplakken van diverse oppervlakken
- Laat geen lijmresten achter
- Is extra waterbestendig


- White interior towel
- Visible dirt pickup
- Ideal for leather
- Value pack 6 pieces


